Quick start
Installation
This quick start guides will help you to get OpenKAT started on Ubuntu using the Docker setup. The steps below were performed on a clean Ubuntu 22.04 LTS virtual machine. This quick start assumes you have a working Ubuntu installation ready. Please note that these steps help you to setup a playground/developer environment for OpenKAT, this means you should not use it as a production environment. If you do, you do so at your own risk.
Do not install Docker directly from the default Ubuntu repositories. This version is older and OpenKAT generally uses newer features. Using the Ubuntu repository version will likely break your OpenKAT install (at some point).
Follow the Docker installation steps as mentioned here: Docker Ubuntu Installation steps. This tutorial followed the installation steps using the apt repository. Make sure that you can run the hello-world Docker image.
Follow the Post-installations steps as described here: Docker Post-installation steps. Make sure that the Docker hello-world image can run as a normal (non-root) user.
Install missing Ubuntu packages.
sudo apt install make
Decide if you want to install the latest stable version of OpenKAT or if you want to run main. Clone the OpenKAT repository to a location of your choice as shown below.
$ git clone https://github.com/minvws/nl-kat-coordination.git
Change into the cloned repository.
$ cd nl-kat-coordination/
Create the environment file and run kat.
$ make env
$ make kat
Pet your cat while you wait for all the containers to be built.
Get your password from the .env file. An example of what this looks like is shown below.
$ cat .env | grep DJANGO
DJANGO_SUPERUSER_PASSWORD=83d0ddac75c3fed23d2fc3a607affe432f9916d0f9dcc12680
Open your browser and go to: http://localhost:8000/en/login. Login using the username superuser@localhost and the password that you found using the previous step (everything after the equal sign =).
Meowlations! You just installed OpenKAT. As this is your first time using OpenKAT, you will have to walk through the onboarding. This is explained further below.
Onboarding
If you are using OpenKAT for the first time you can go through the onboarding flow. The onboarding flow helps you to perform your very first scan. The onboarding flow introduces the basic concepts of adding an object, setting a clearance level, enabling boefjes in order to gather data and perform various scans and the creation of your first report.
The onboarding consists of the following steps:
Welcome
- Organization setup
Create/update an organization
Indemnification setup
User clearance level
- Add object
Add object
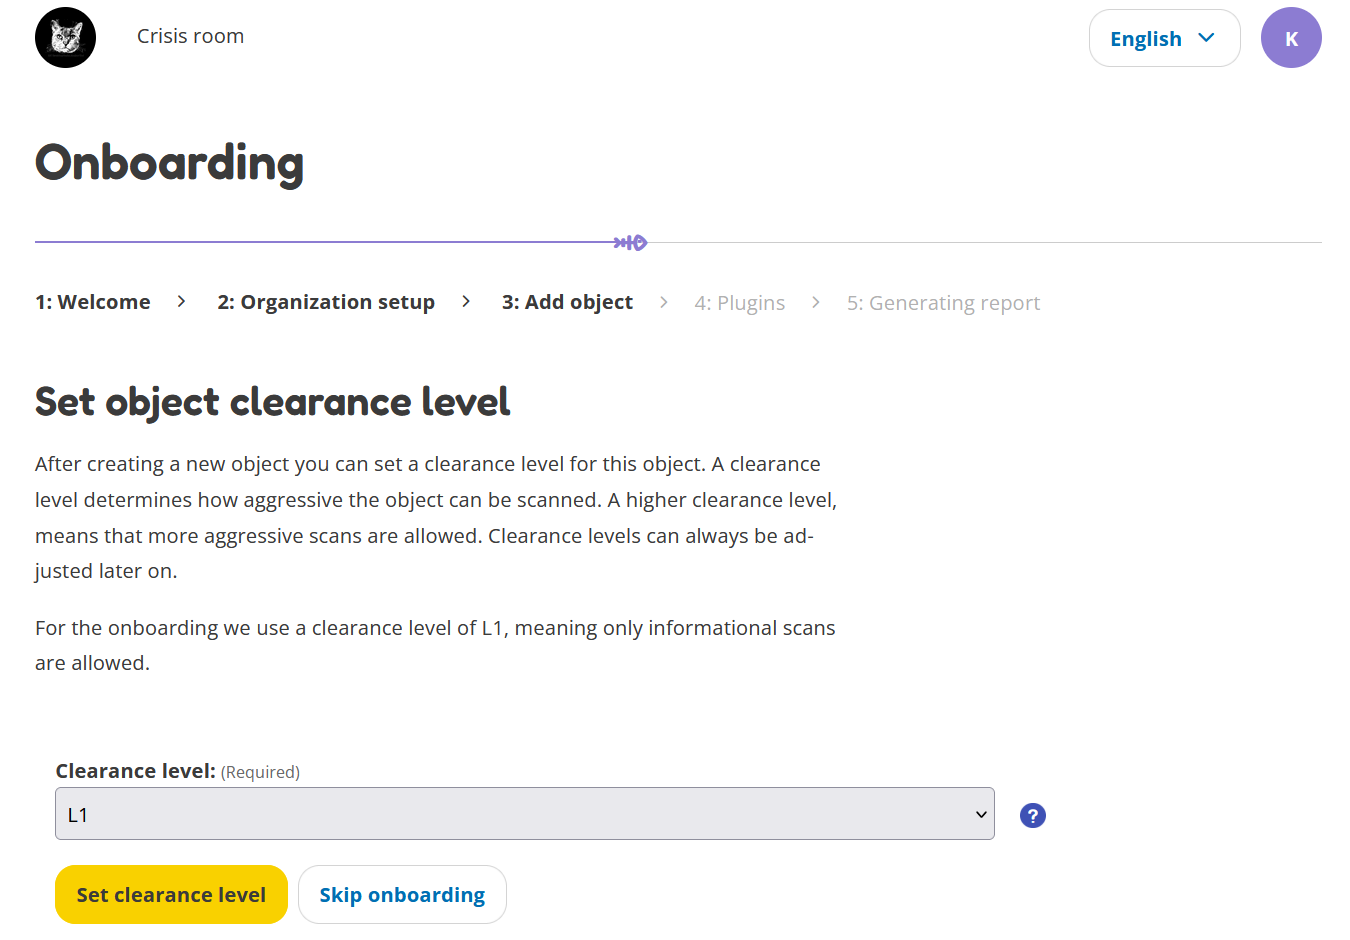
Set object clearance level
- Plugins
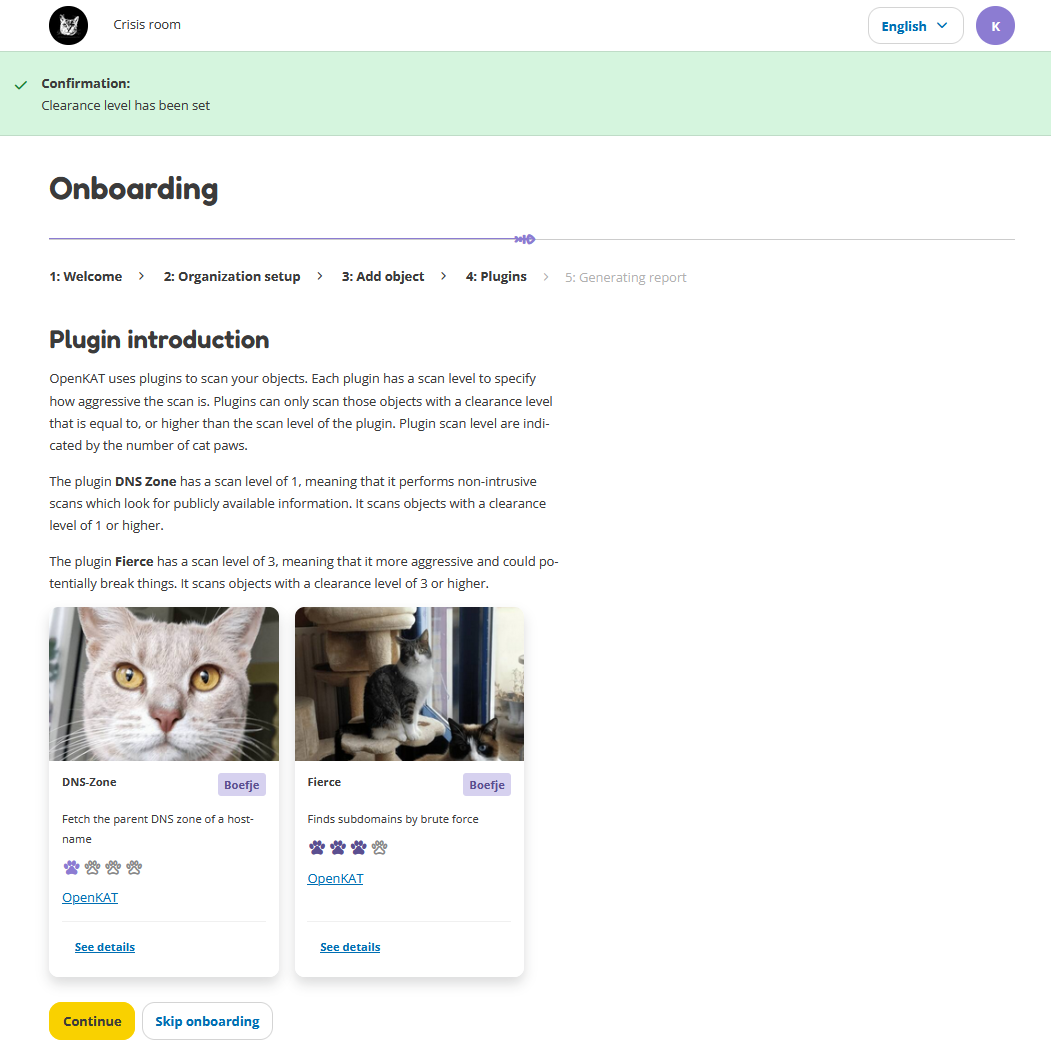
Plugin introduction
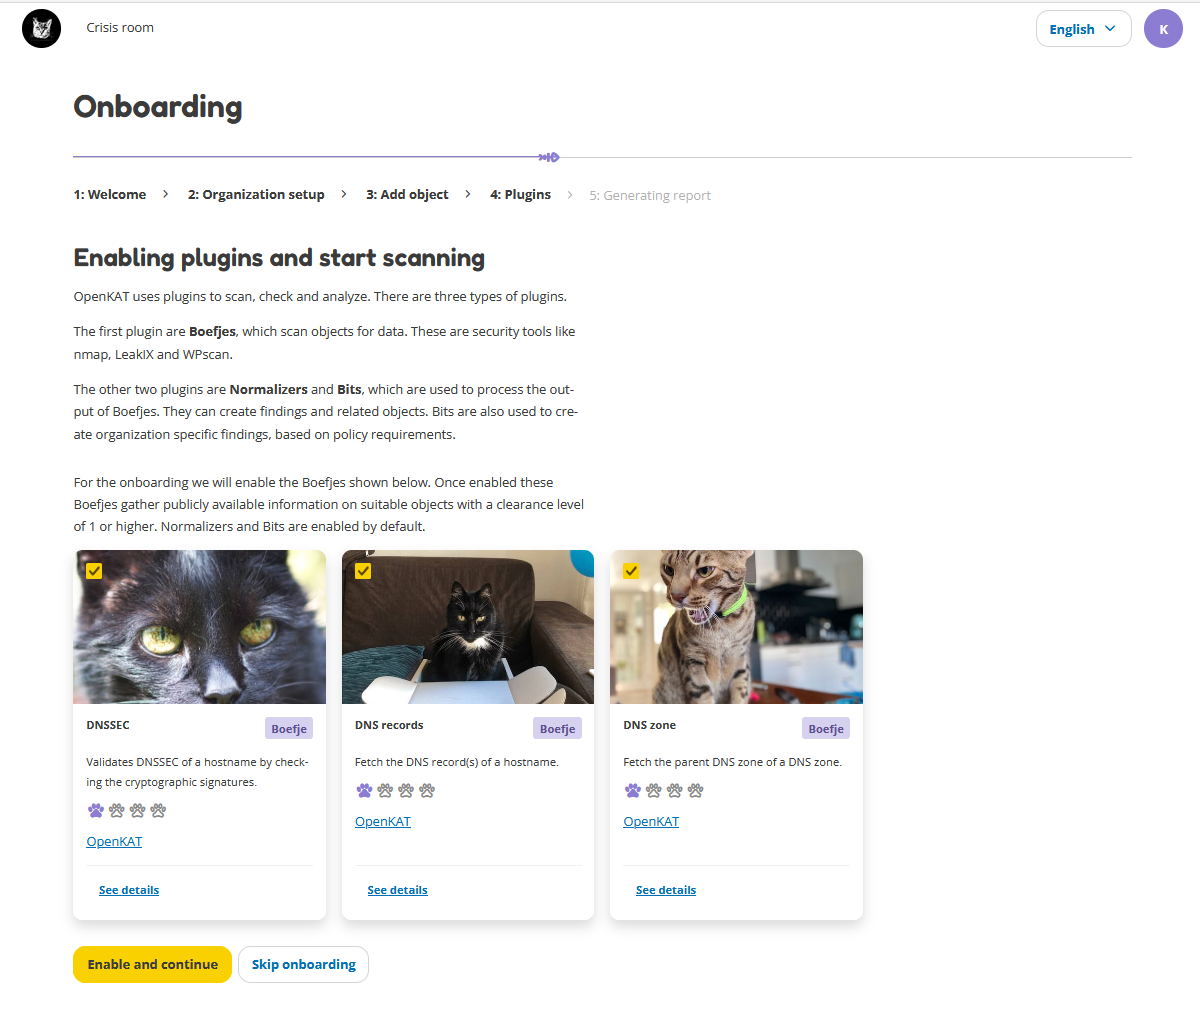
Enabling plugins and start scanning
Generating report
Login & Registration
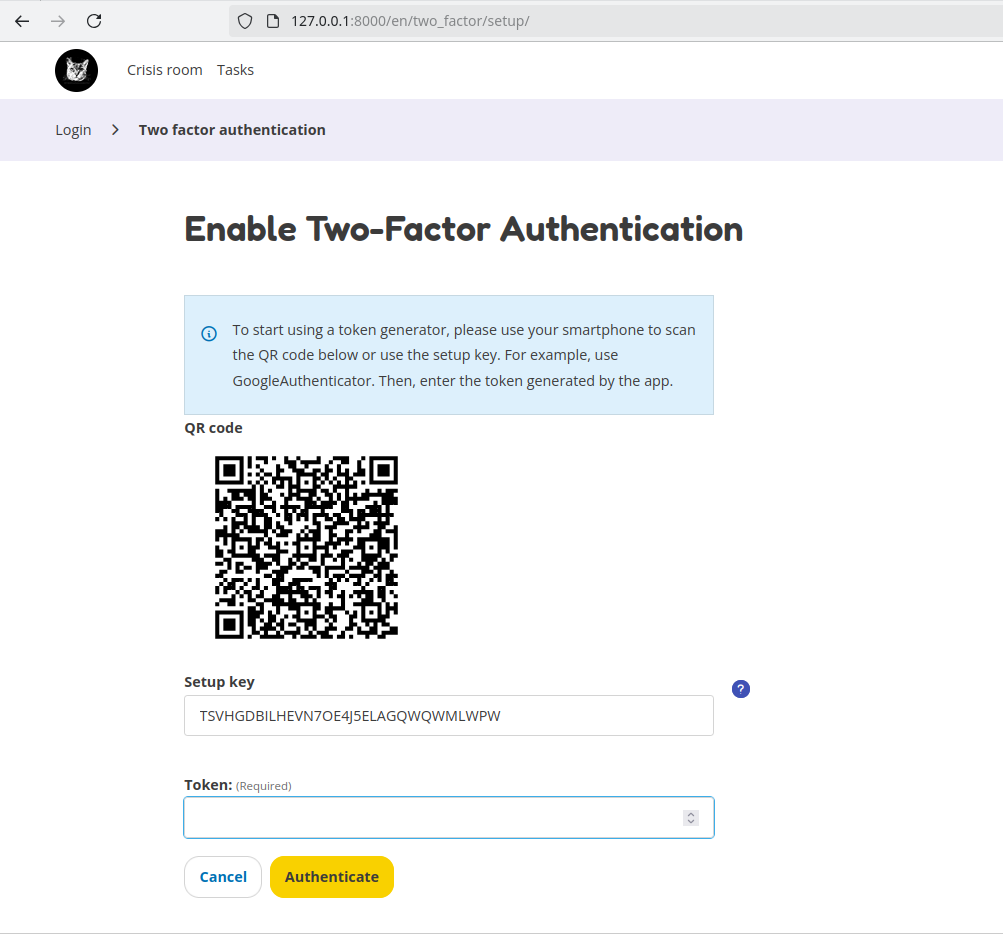
Once you login you will see the screen for setting up 2 factor authentication (2FA). You have to scan the QR code with an authenticator application on your phone, the application on your phone will generate a token that you have to type in as a response. Every time you want to login, you have to enter your username, password and 2FA token. You can disable 2FA in the .env file if necessary.
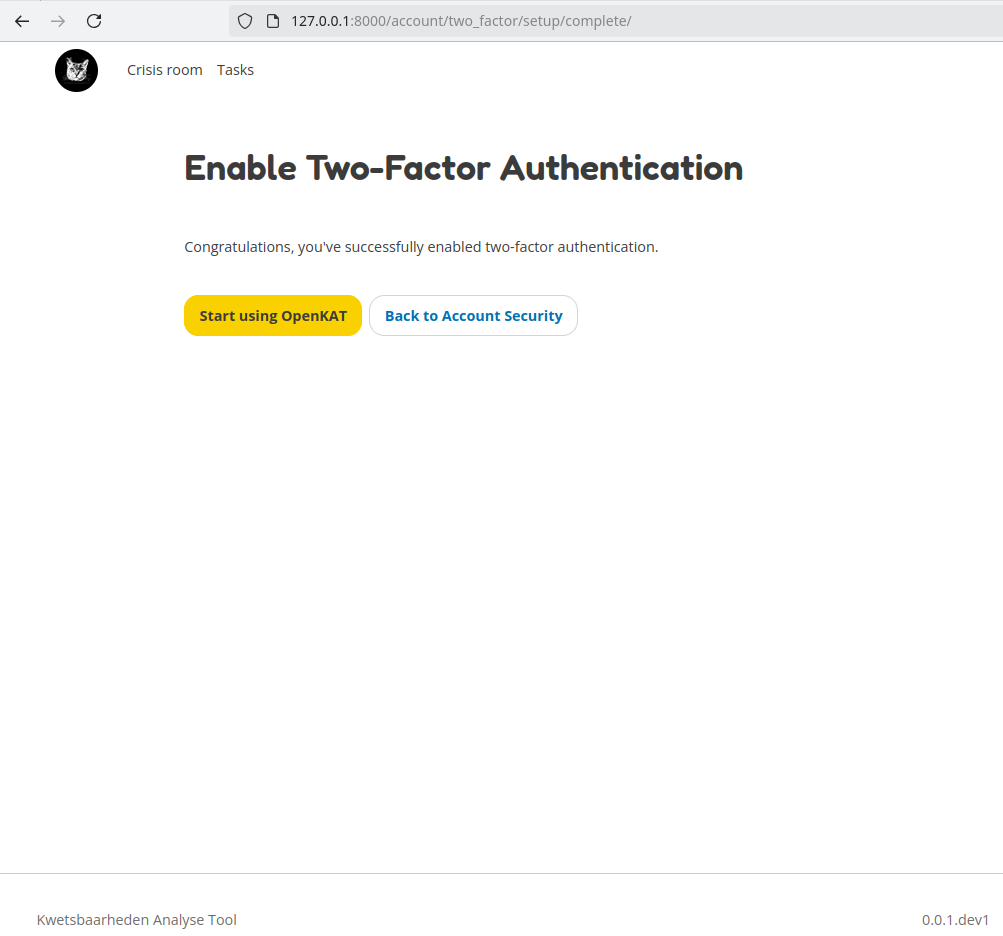
Once you have successfully setup 2FA you will see the following screen.
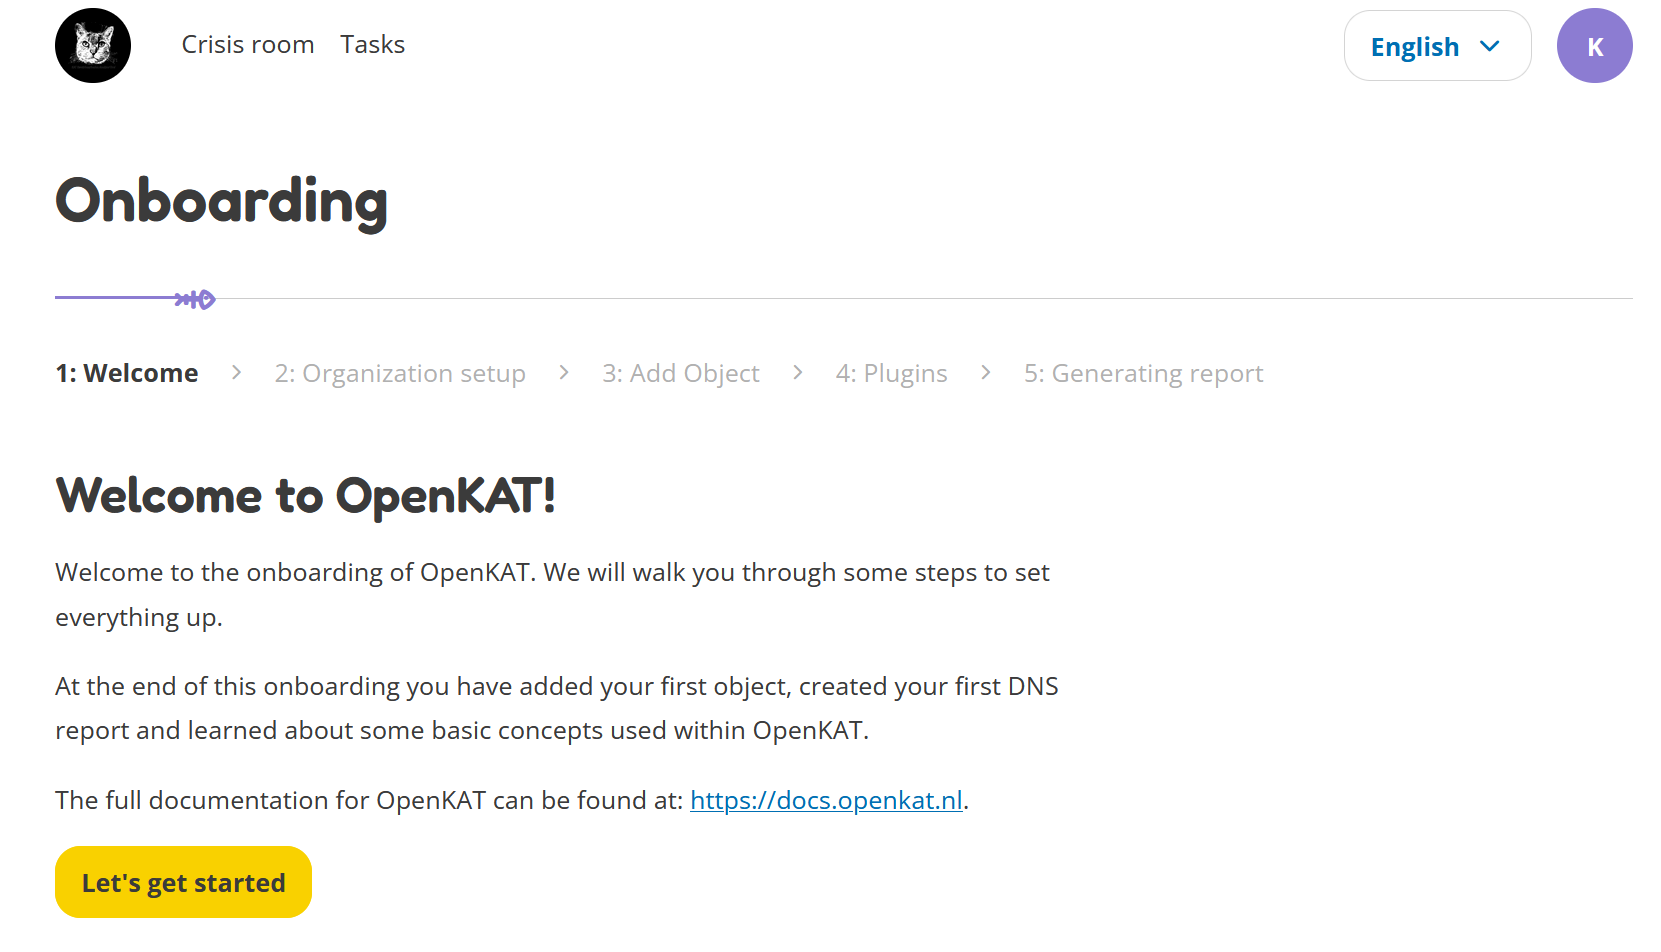
After this, continue to the onboarding. The onboarding starts with the registration process, which let’s you create your very first organization. The first page of the onboarding shows a quick introduction of how OpenKAT works.
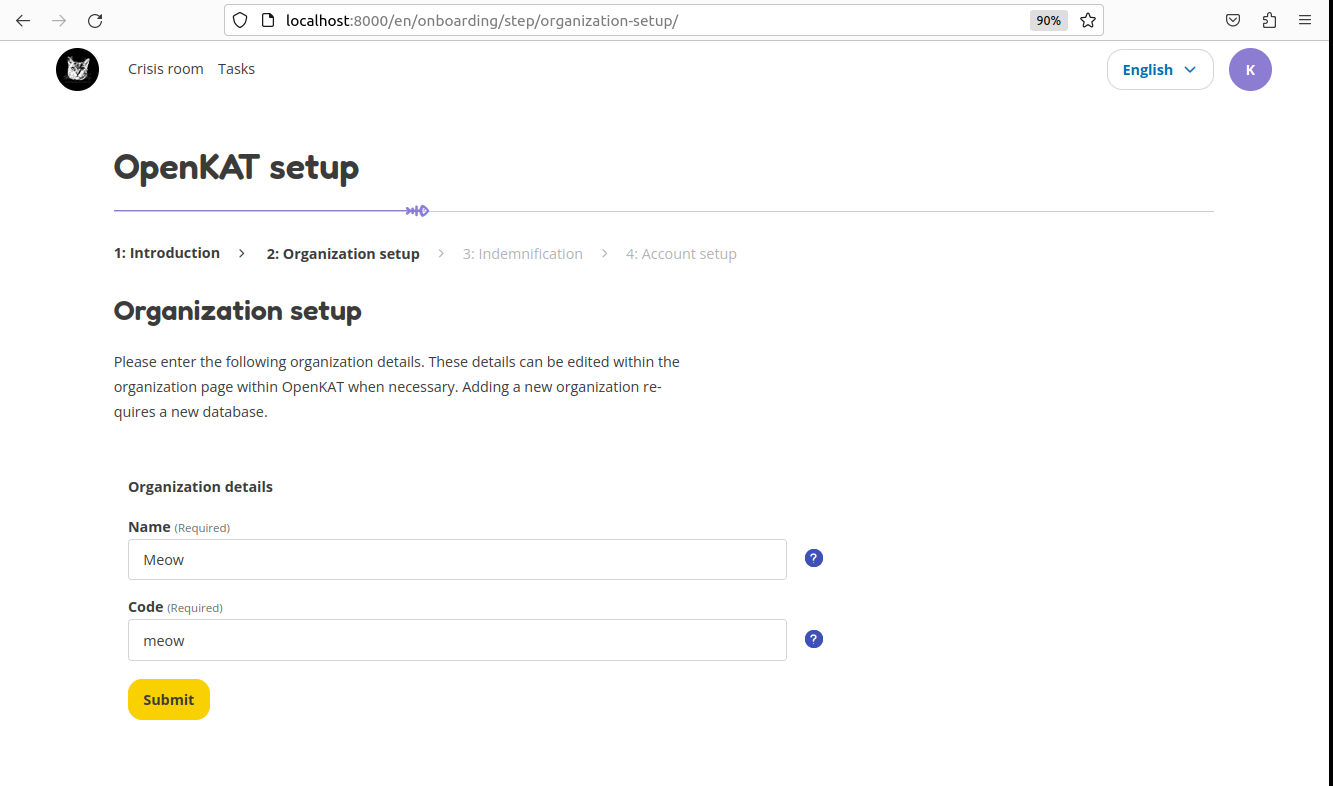
On the next page you are asked to enter the name of your organization and a code that is used to identify your organization. If you are unsure what to do here, take a look at the next screenshot.
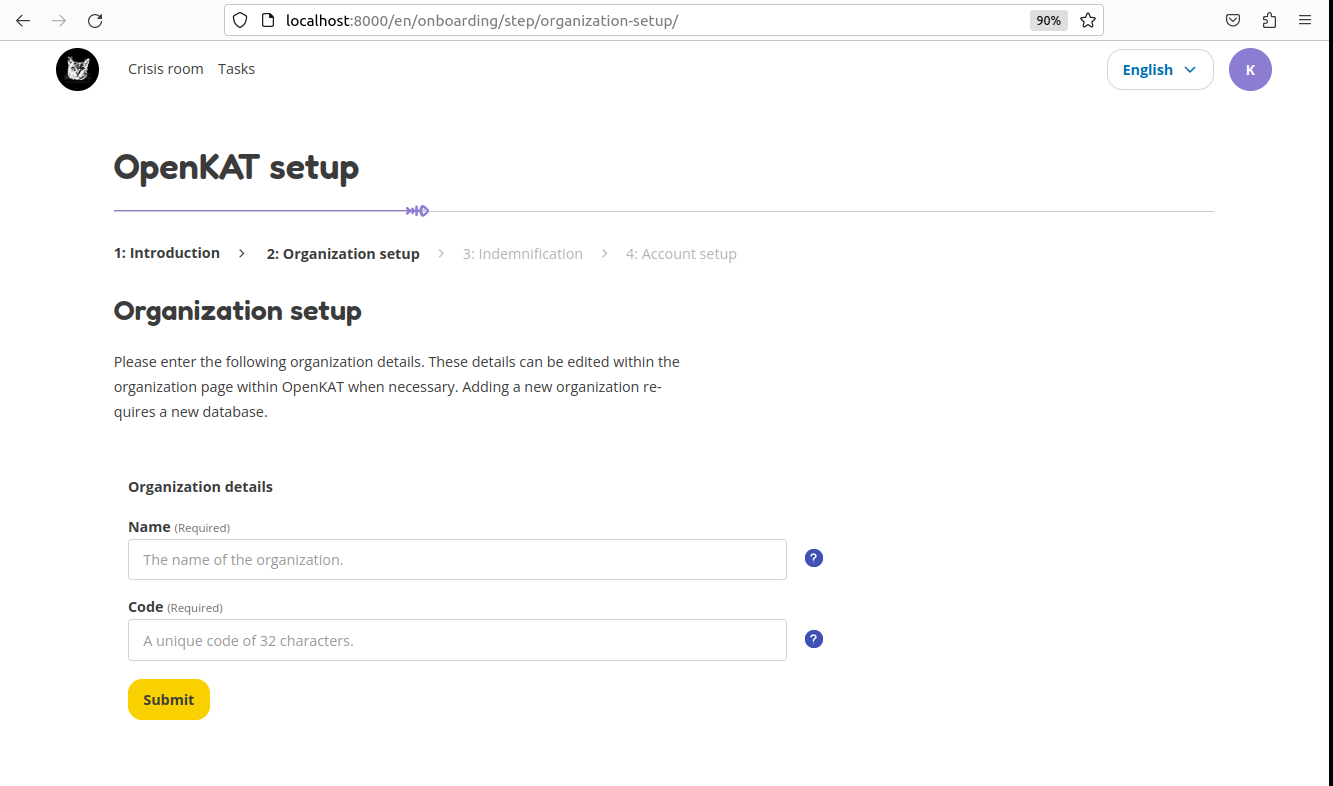
The dummy organization for this tutorial is called ‘Meow’, which is entered in the ‘Name’ field. The code we came up with that will identify this organization is ‘meow’. Usually this is some kind of shorthand to identify your organization.
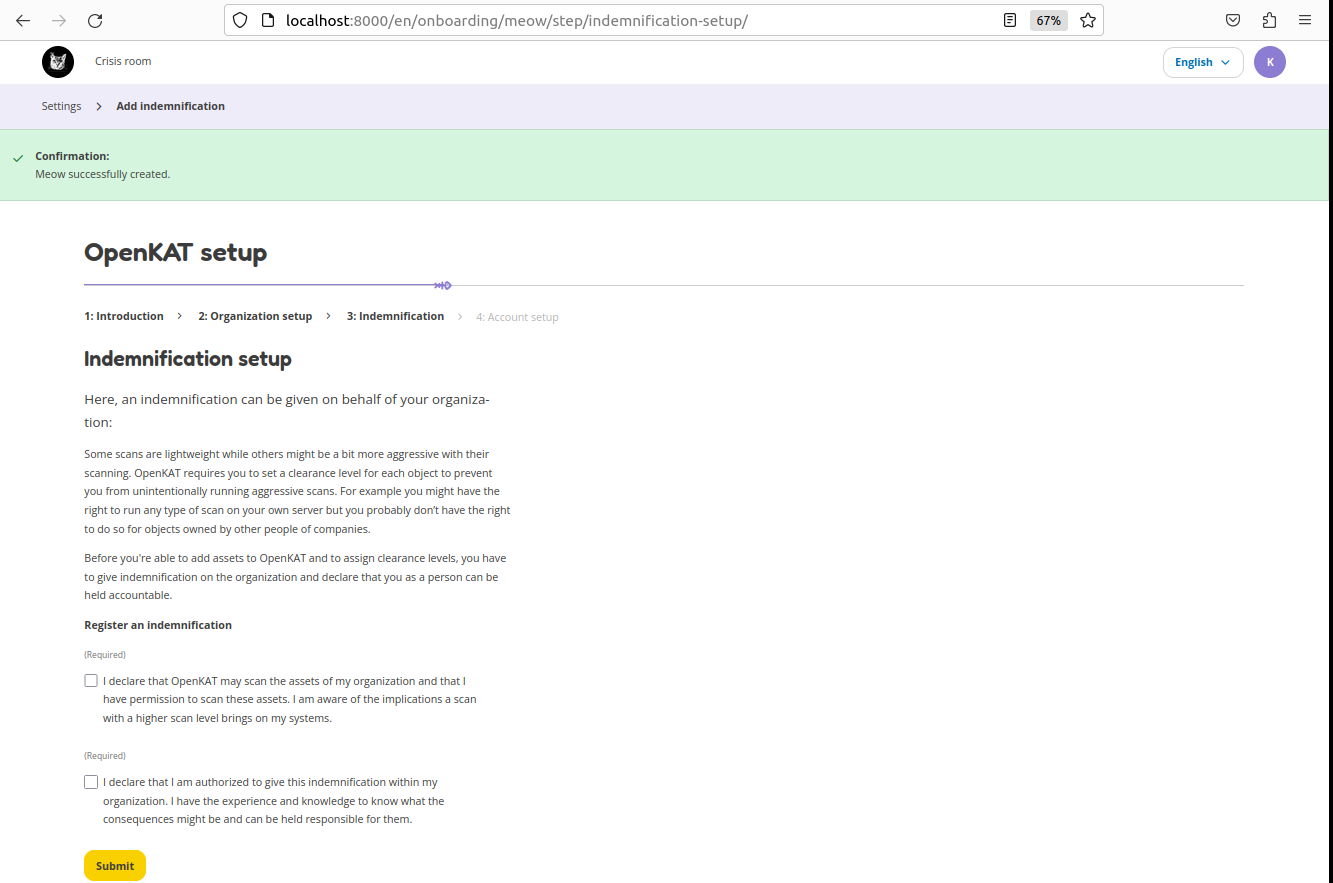
The next step is to add the indemnification statement. Before you are allowed to scan, you are legally required to sign a waiver stating that you know what you are doing when scanning websites/hosts and that the person who signed the waiver can be held accountable. Please read the indemnification carefully and click the checkboxes if you agree.
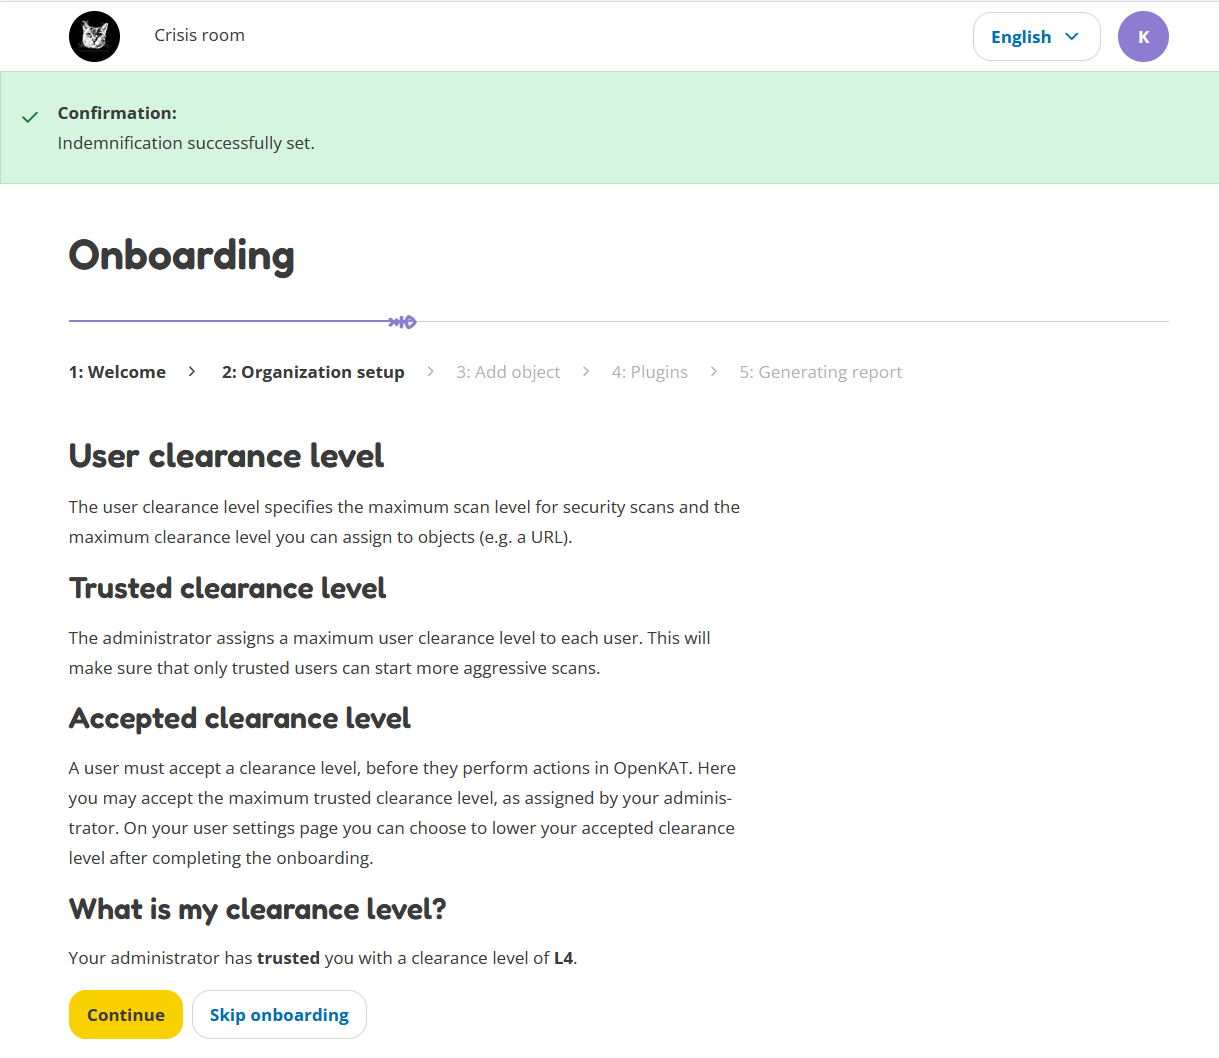
The following page shows some information about user clearance levels. At the bottom of the page, you can see which clearance level is trusted to you by the administrator.
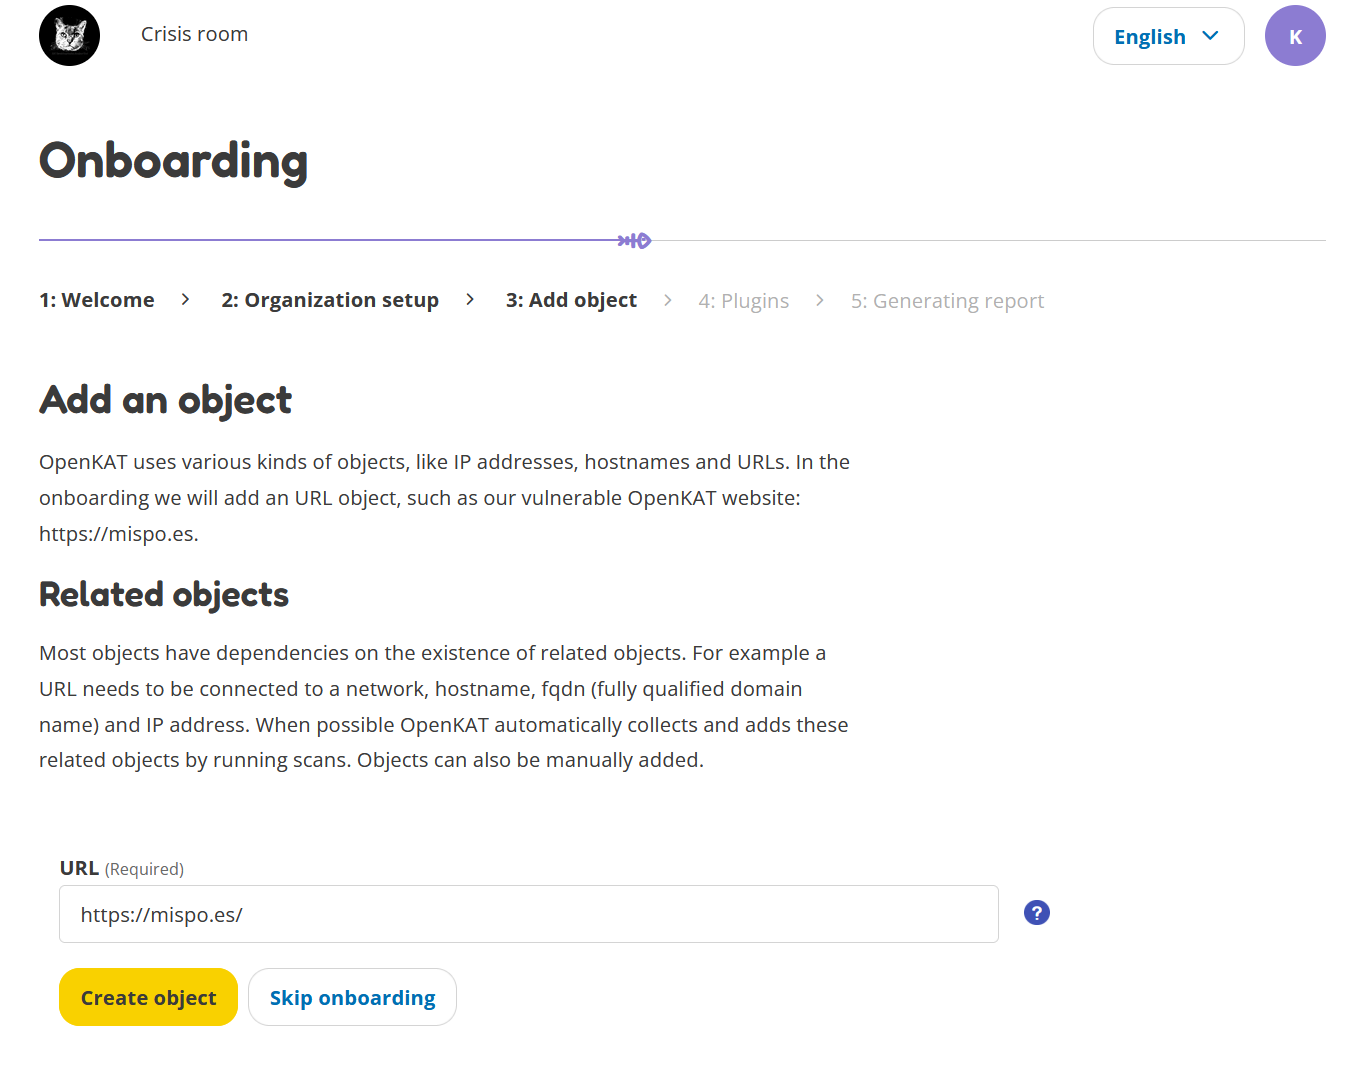
Here you can add your very first object! You do this by entering the URL for a website that you have permission to scan. The next screenshot will show you an example of what this could look like. Here we add our dummy URL https://mispo.es. Feel free to add this URL, as it is part of our testing environment.
Each object in OpenKAT has a clearance level, stating how intrusive the scans for the object can be. If you give an object Level 1 clearance, only non-intrusive plugins are allowed to scan it. If you give it Level 4 clearance, all plugins, including the very intrusive ones, will scan this object. Since this is the onboarding, we set the clearance level to Level 1.
The plugins in OpenKAT have various scan levels to indicate if they are more or less intrusive for the objects that are scanned. Here you can find two examples of a less intrusive plugin (DNS zone) and a more intrusive plugin (Fierce). This level of intrusiveness is indicated by the number of paws, where more paws is more intrusive.
Before we can scan we have to enable plugins. Here you can choose some plugins. By default all three plugins are enabled. They are all non-intrusive plugins that will gather basic DNS data for your added URL.
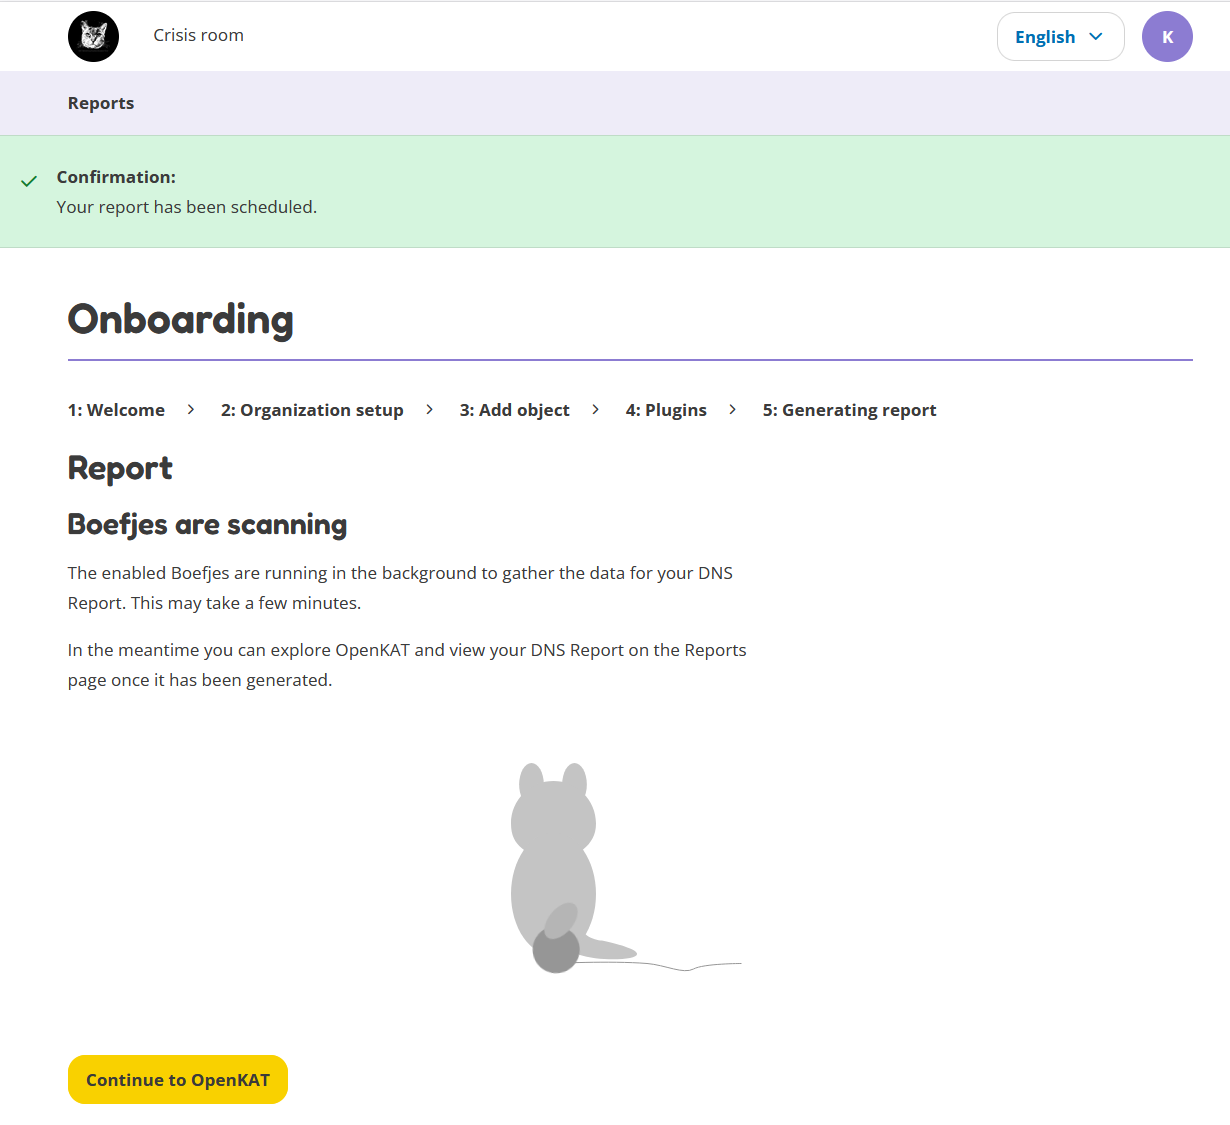
The final step is generating a report. During the onboarding, we will create a DNS-report.
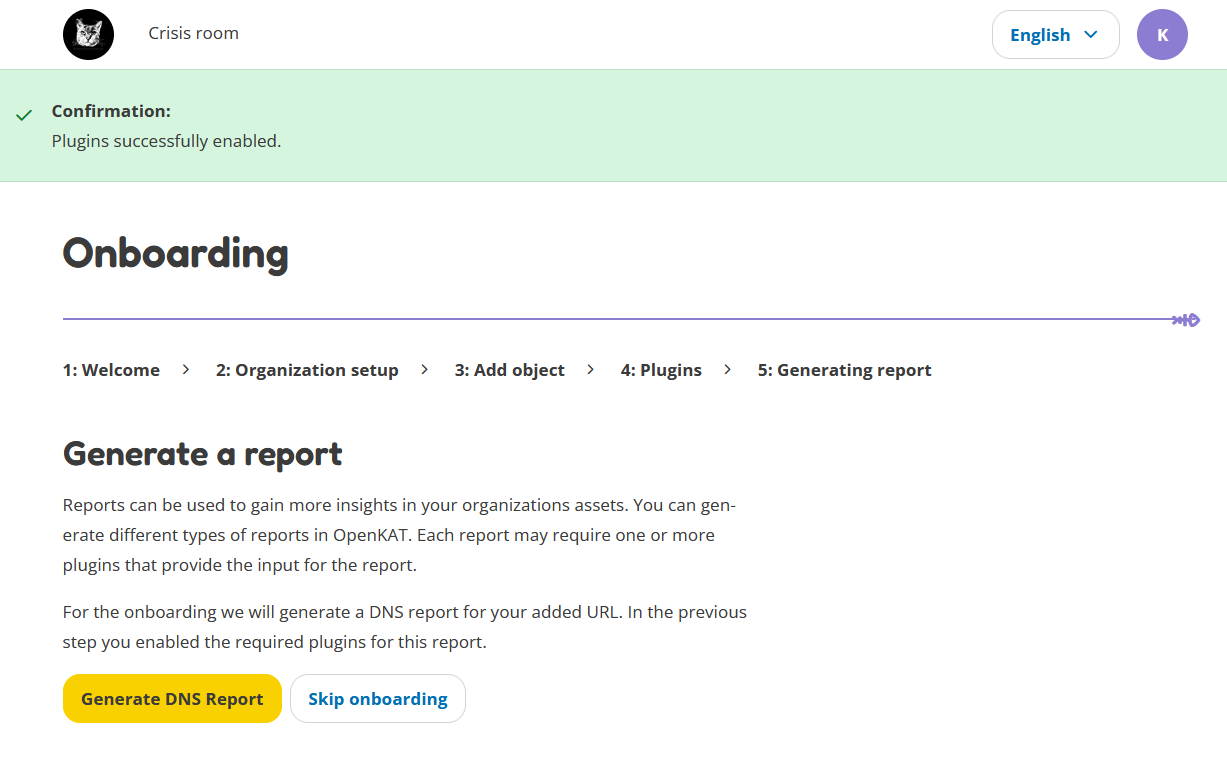
This is the last page, after which you can start exploring OpenKAT. The Boefjes are currently running to collect data about your URL. Your DNS Report will be generated in 3 minutes, so the Boefjes have some time to complete. In the meantime you can explore OpenKAT. Go back to the Report History page to view your DNS Report after a couple of minutes.
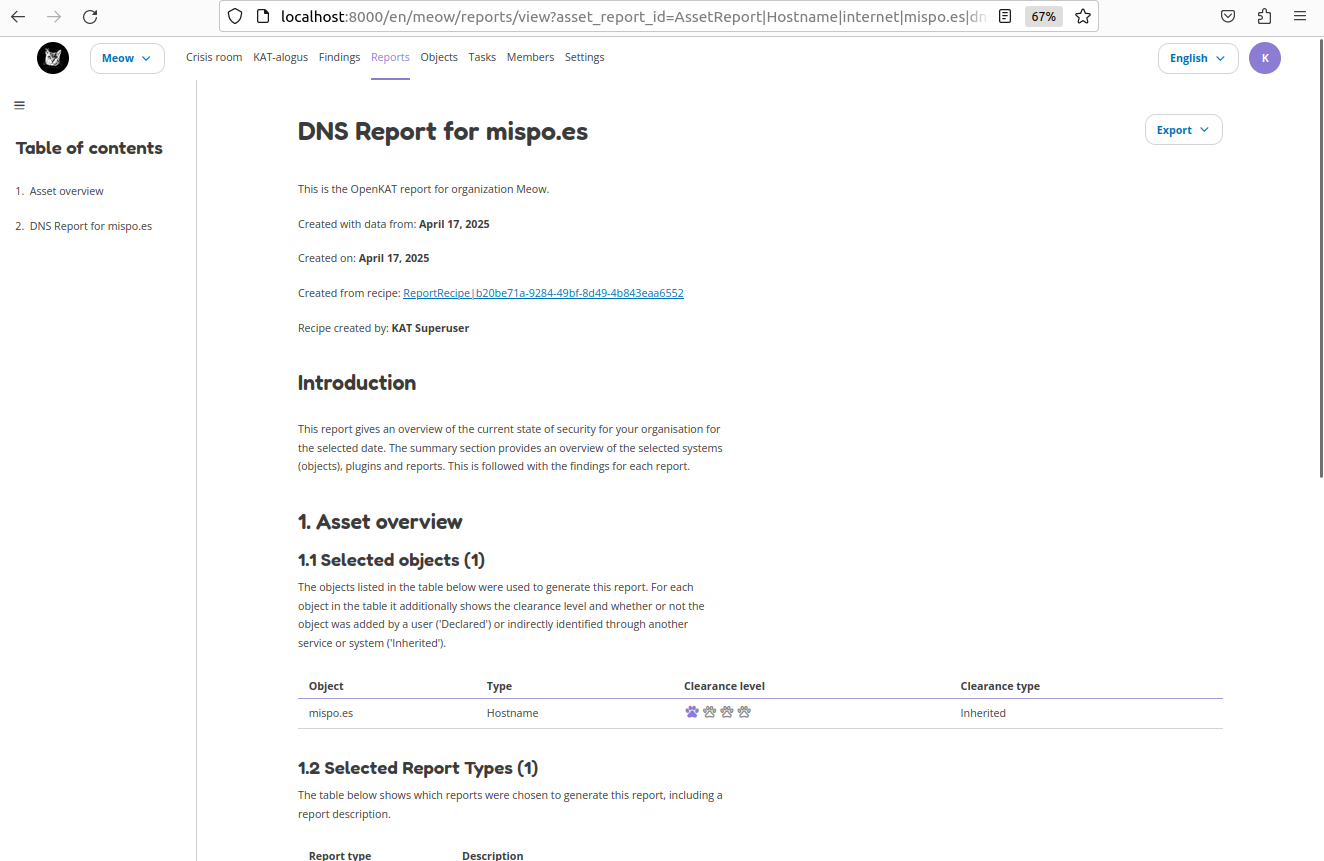
After three minutes, you can open your DNS Report on the Report History page. Here is your very first DNS report! Congrats.
Now get familiar with OpenKAT and explore! If you need any help with navigating around and becoming familiar with OpenKAT, you can always go to the user manual.In the user manual you will find information on all the user interface related items of OpenKAT.