Start scanning
To get started with OpenKAT, you need to add an object. After adding an object, setting the clearance level and enabling plugins, OpenKAT can start scanning this object. This section will show you how to do this, step by step.
Adding an object
We start by adding an object, also referred to as ‘Object of Interest’ (OOI).
New objects can be created using the ‘Add’ button on the Objects page. This can be done individually or per CSV. The specification of the CSV is included on the upload page.
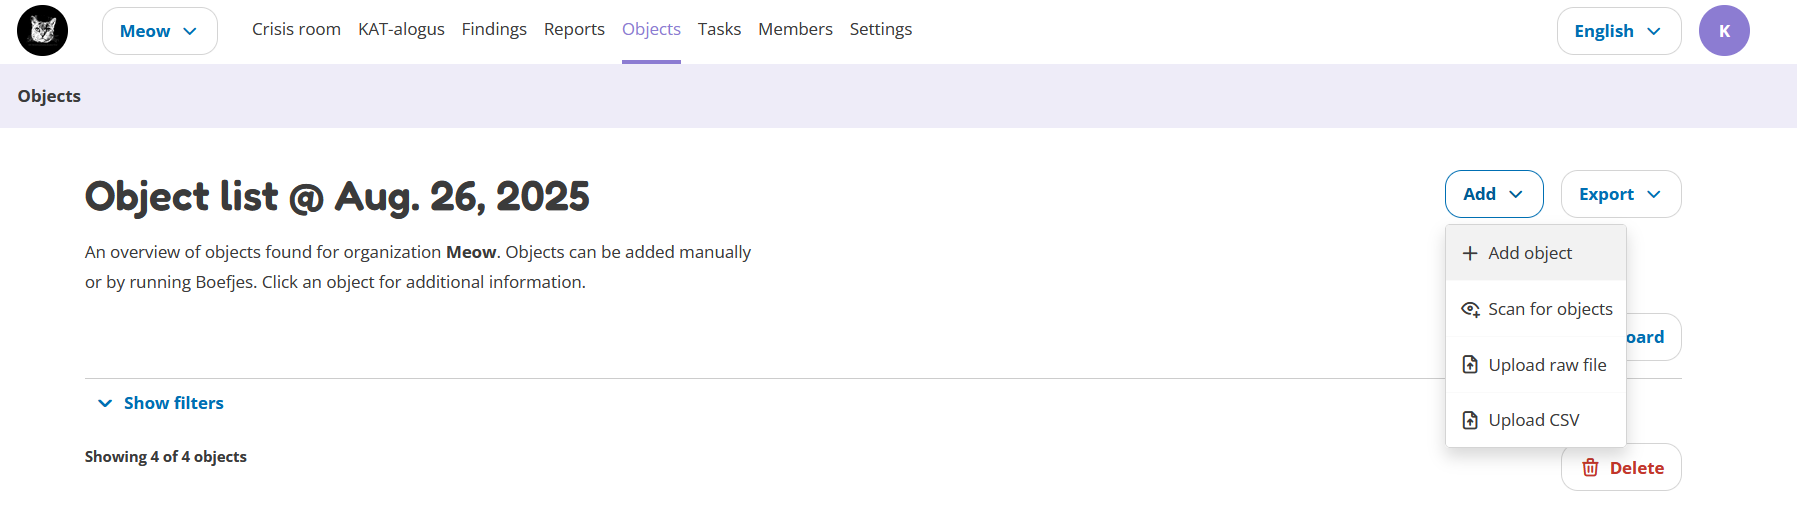
For now, click on ‘Add object’ to manually add an object.
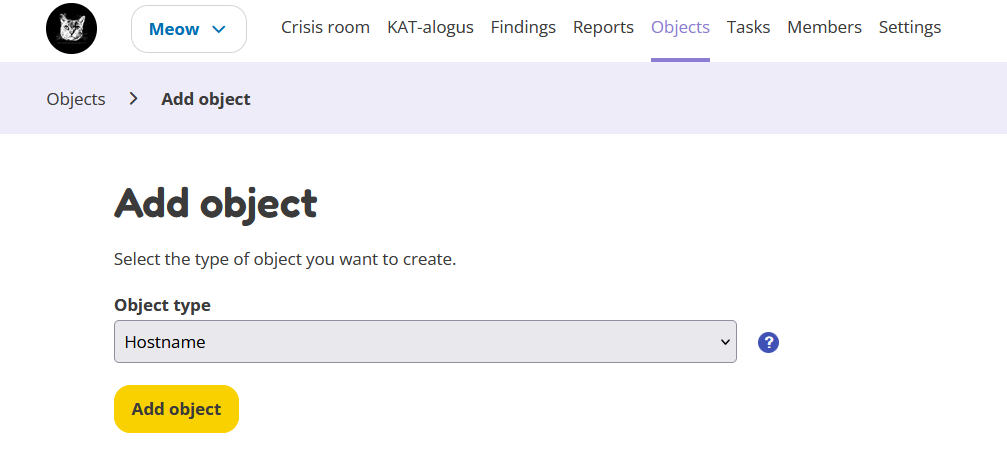
On the next page, you can select the type of object you want to add. Choose the option that suits you. For this demonstration we will add a hostname. Click on “Add object” to continue.
Now it is time to fill in the details of the object and continue to the next page.
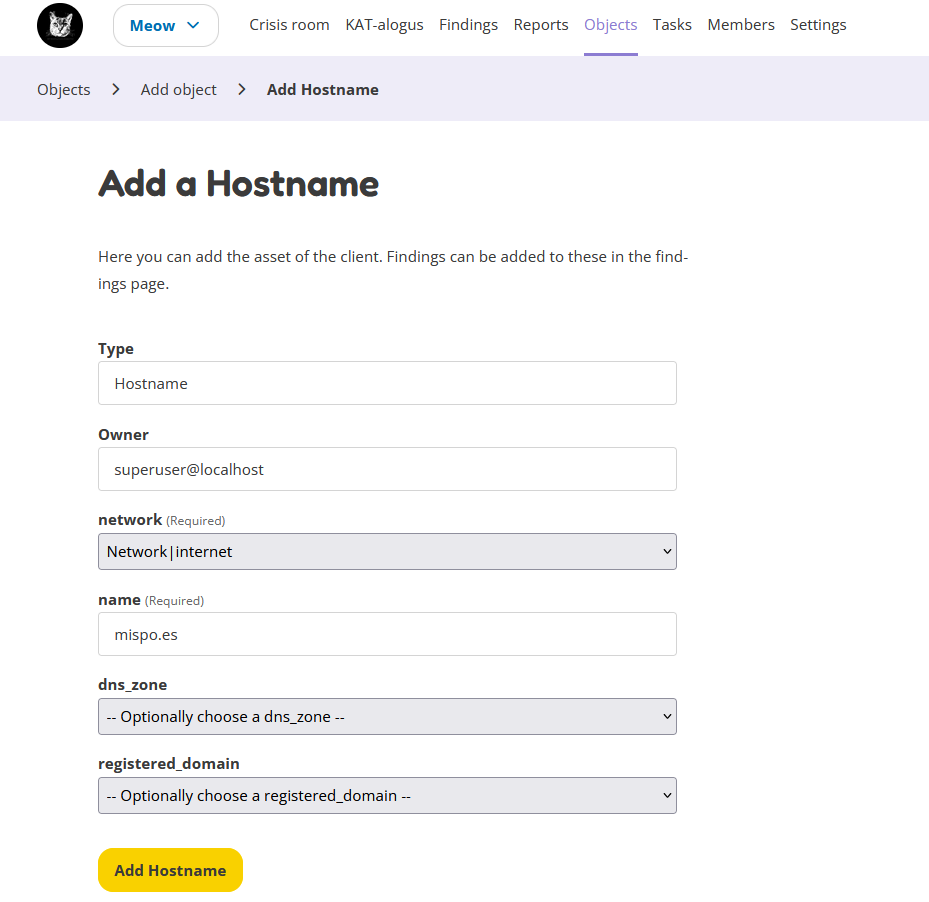
After clicking ‘Add Hostname’, the object will be saved and should appear on the object’s detail page. You can also find the object in the overview table on the Objects page.
See Objects and recursion for more detailed information about the way objects work. If you want to know more about the Objects page and the Object details page, see Objects.
Changing clearance level
The next step is to change the clearance level of the object. The clearance level of an object tells OpenKAT how far it can go in scanning the object. More information about the different clearance levels can be found here.
There are two ways to change the clearance level:
Via the tab ‘Clearance level’ on the detail page (only for changing one object at a time)
Via the overview table on the Objects page (for changing one or multiple objects at once)
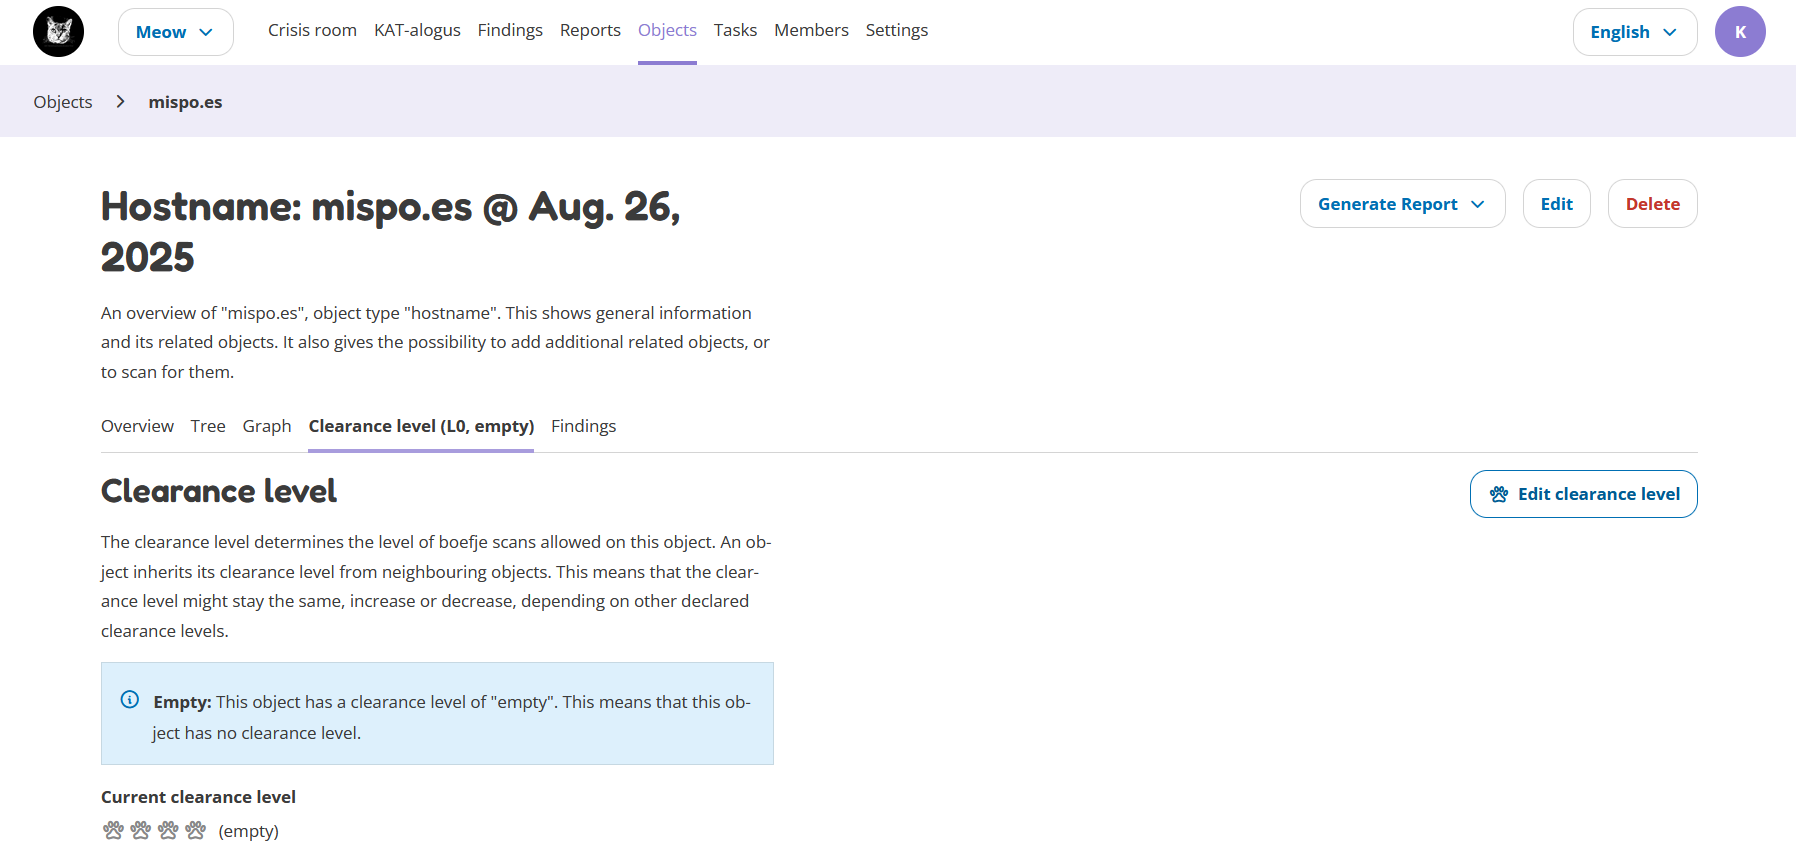
Clearance level tab
Click on the tab and then click on the ‘Edit clearance level’ button on the right.
- Important:
If you cannot see this button, you might not have the right to do so. Please contact your administrator.
Also, if there are any warnings on this page, please follow the instructions of the warnings first. You might need to set an indemnification for your organization or accept your assigned clearance level.
Clicking on the button will open a pop-up. Here you can choose the clearance level for your object.
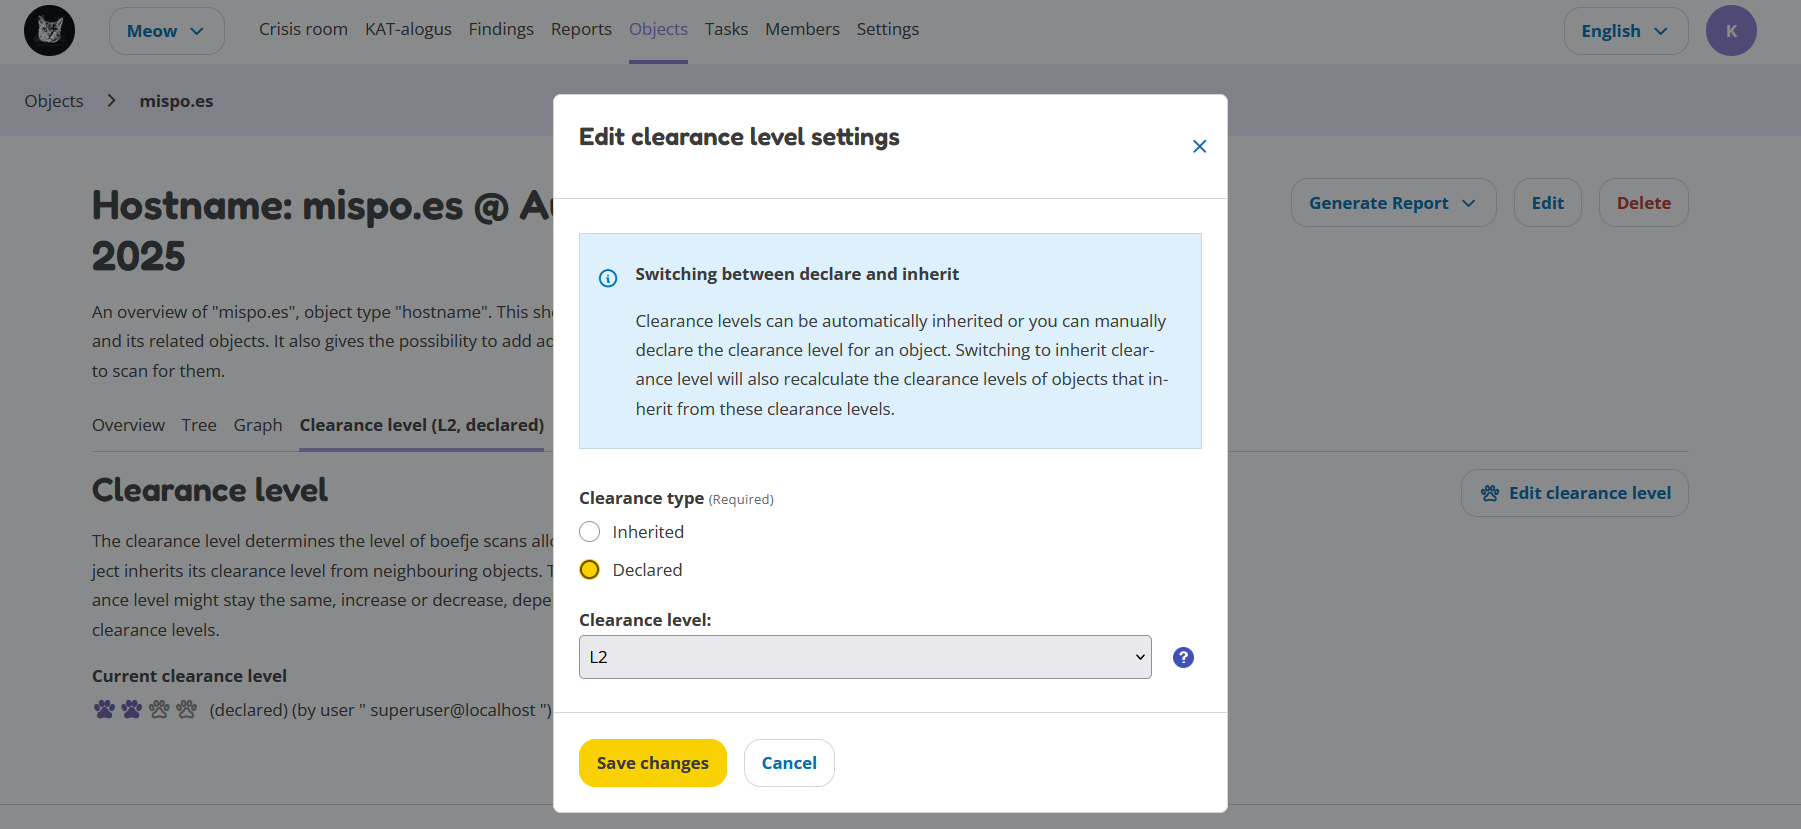
After continuing, the clearance level of your object has been set to the new clearance level. This means that OpenKAT can now scan the object. Continue to the next step to enable plugins.
Objects page
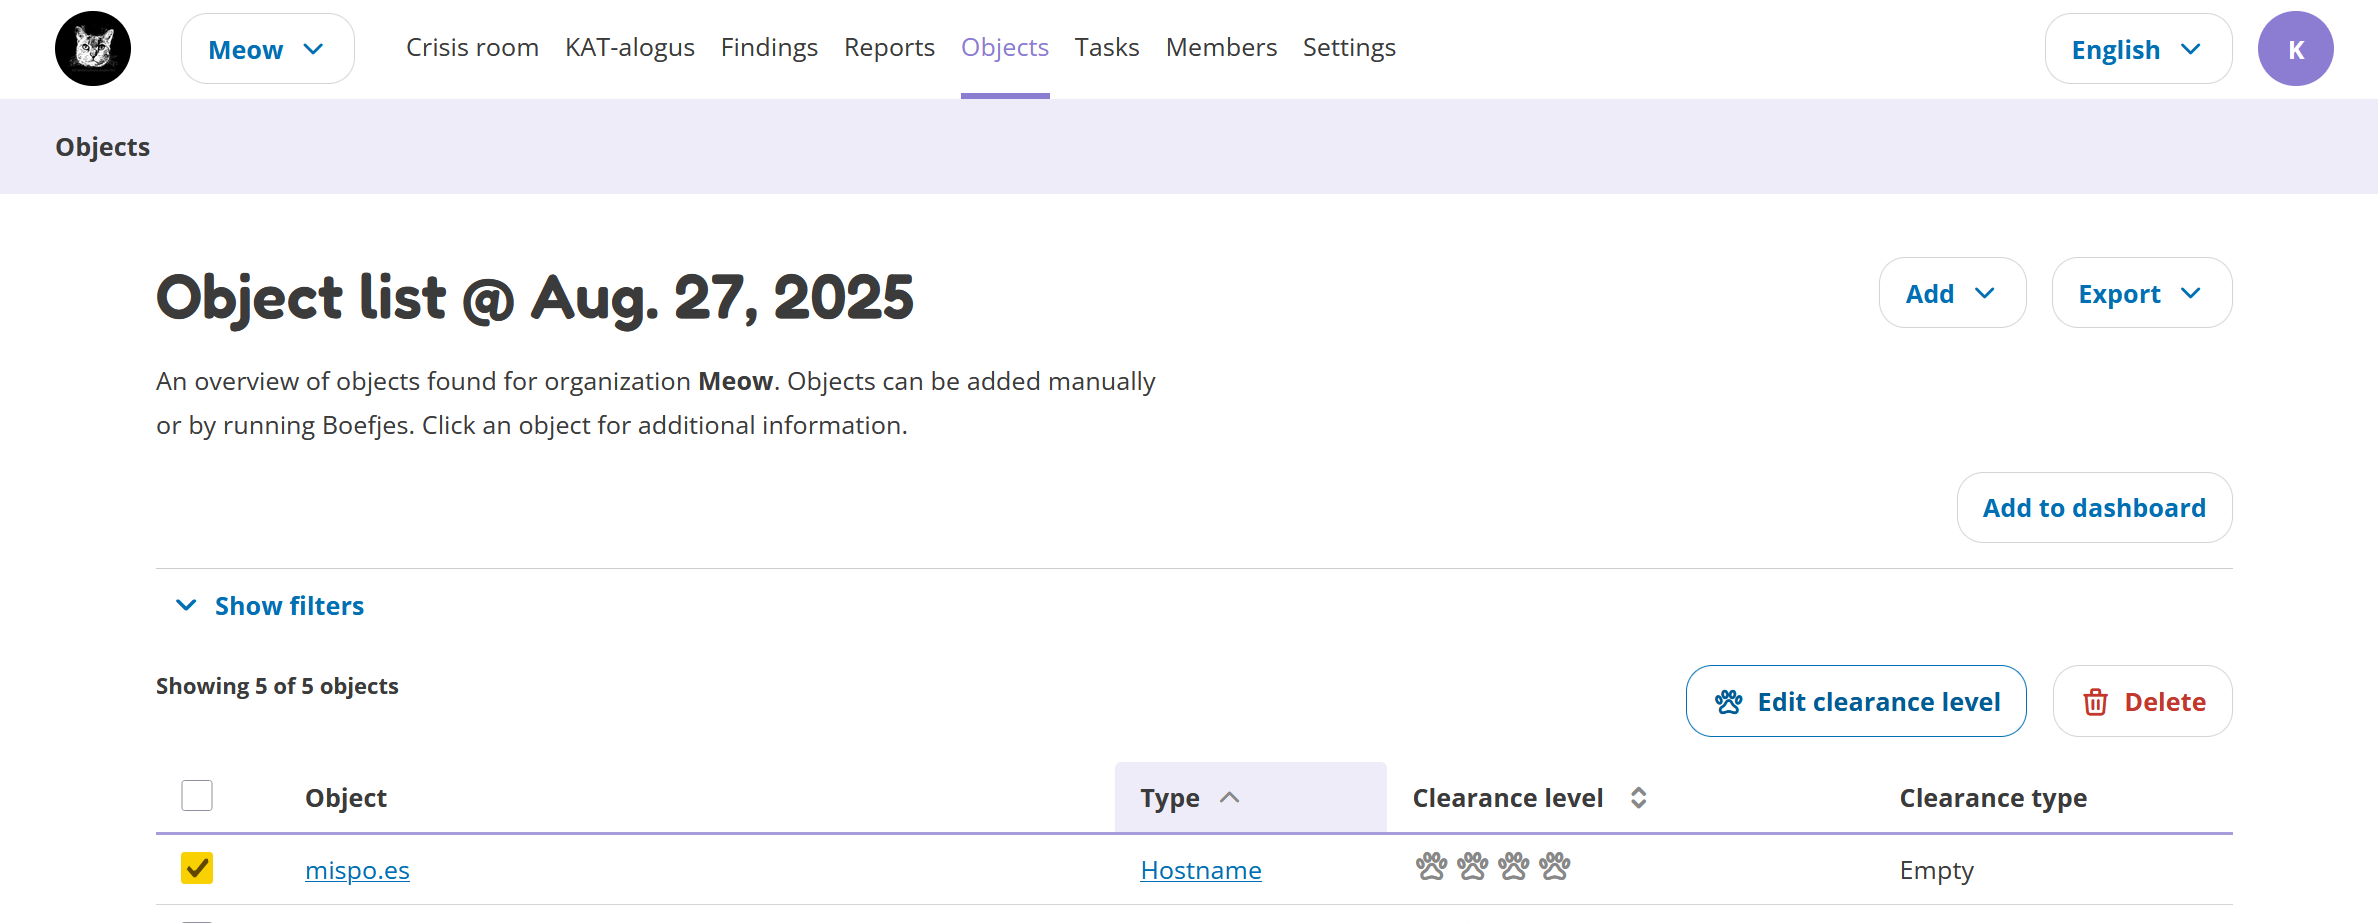
Go to the Objects page and select the object(s) of which you want to change the clearance level. If there are a lot of objects in the overview, you can use the filter to find the object(s).
After selecting the object(s), click on the ‘Edit clearance level’ button on the top right.
- Important:
If you cannot see this button, you might not have the right to do so. Please contact your administrator.
Clicking on the button will open a pop-up. Here you can choose the clearance level for your object.
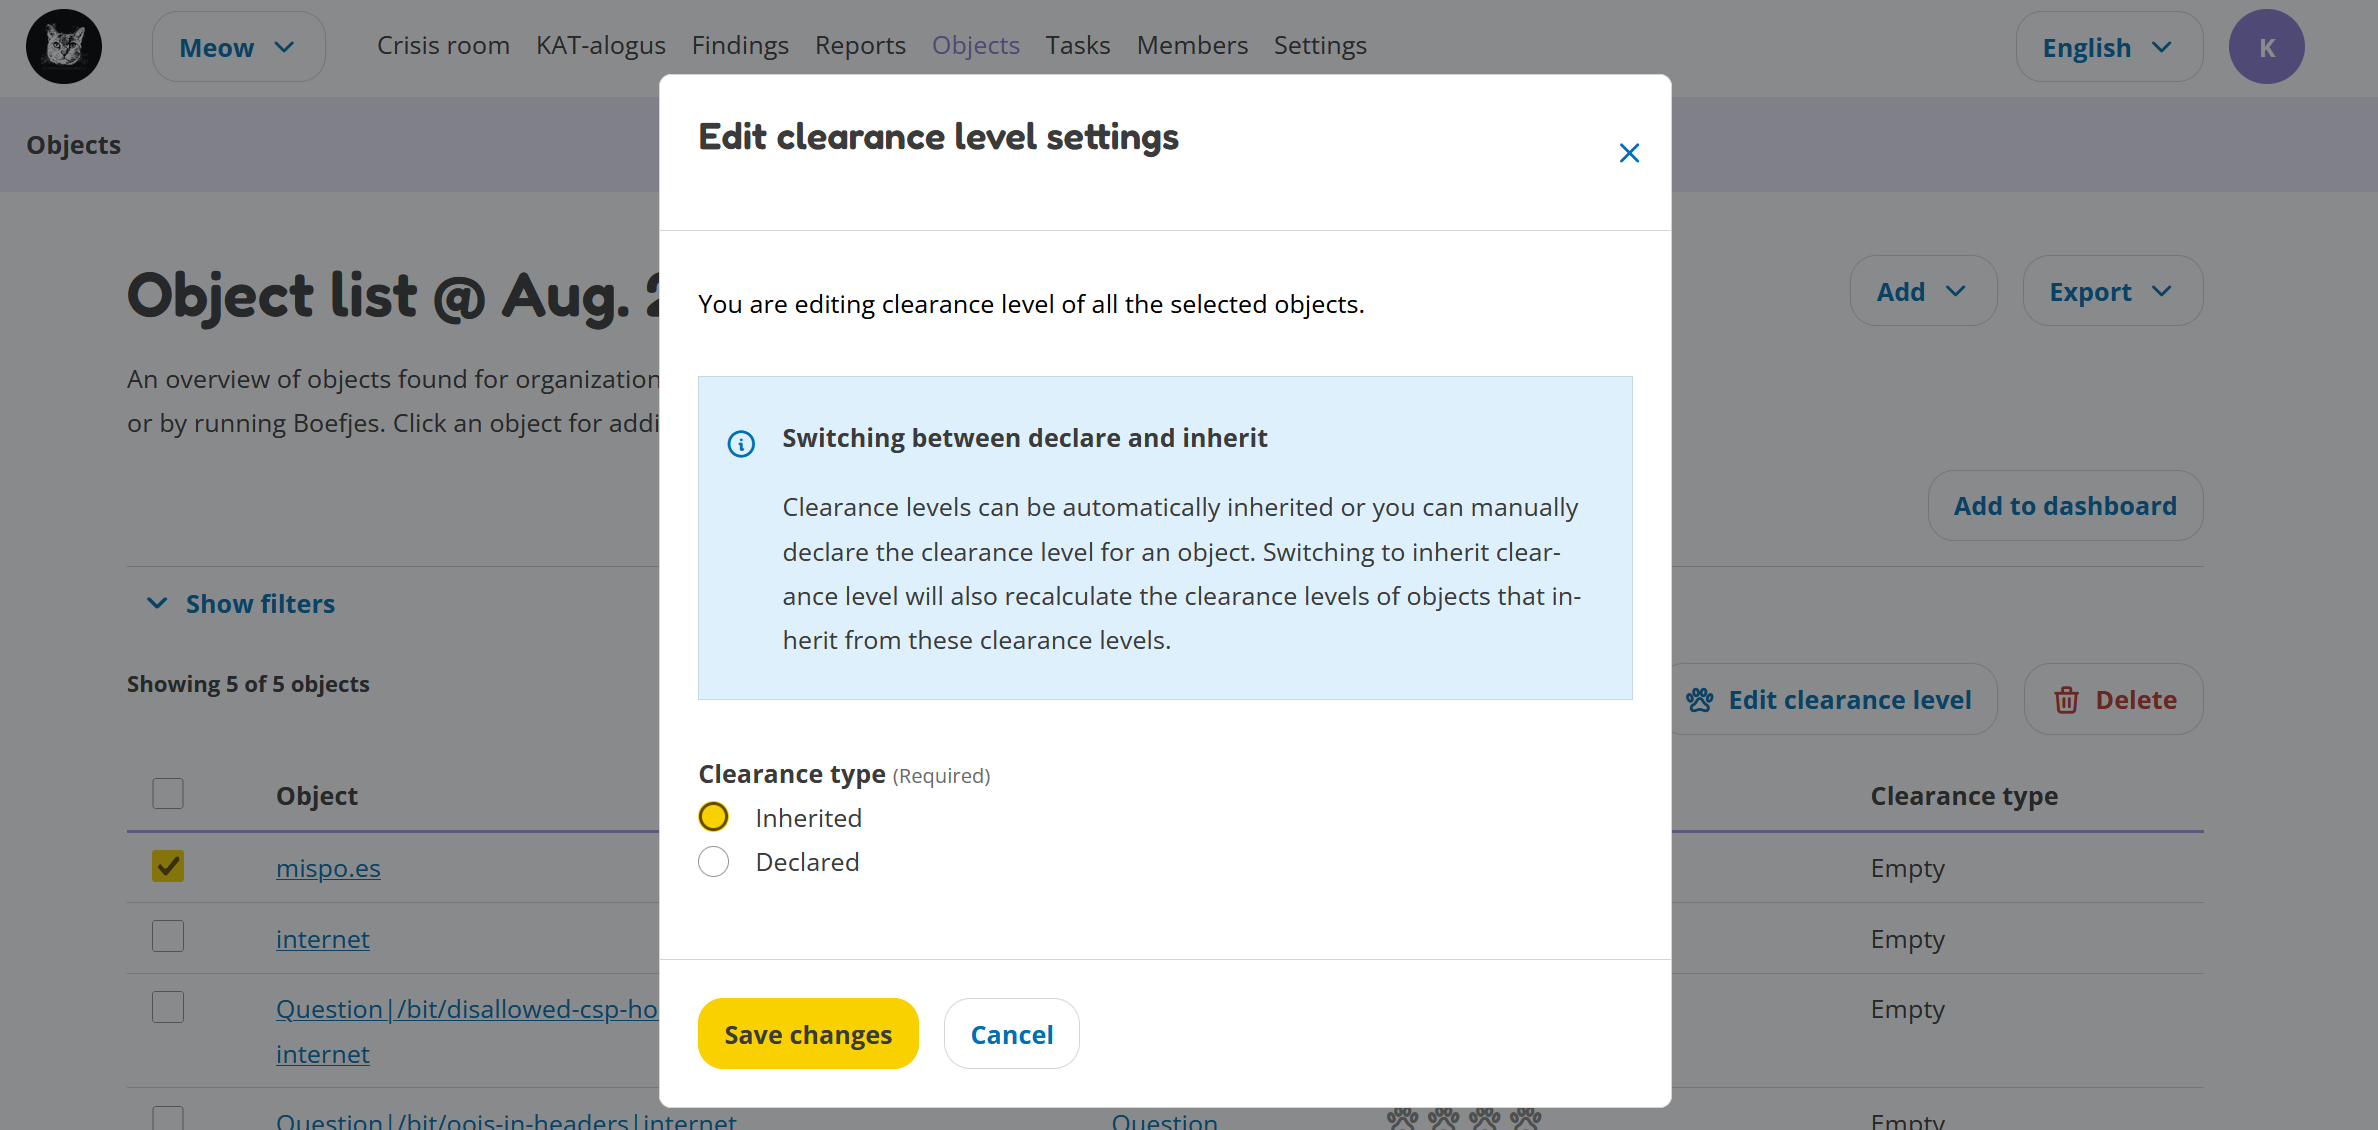
After continuing, the clearance level of your object has been set to the new clearance level. This means that OpenKAT can now scan the object. Continue to the next step to enable plugins.
Enable plugins
OpenKAT is almost ready to scan your object. There is just one more thing you have to do: you have to enable all the plugins you want OpenKAT to use on your objects.
Go to the KAT-alogus. Here you find all the plug-ins (also called Boefjes) that are available for scanning your object.
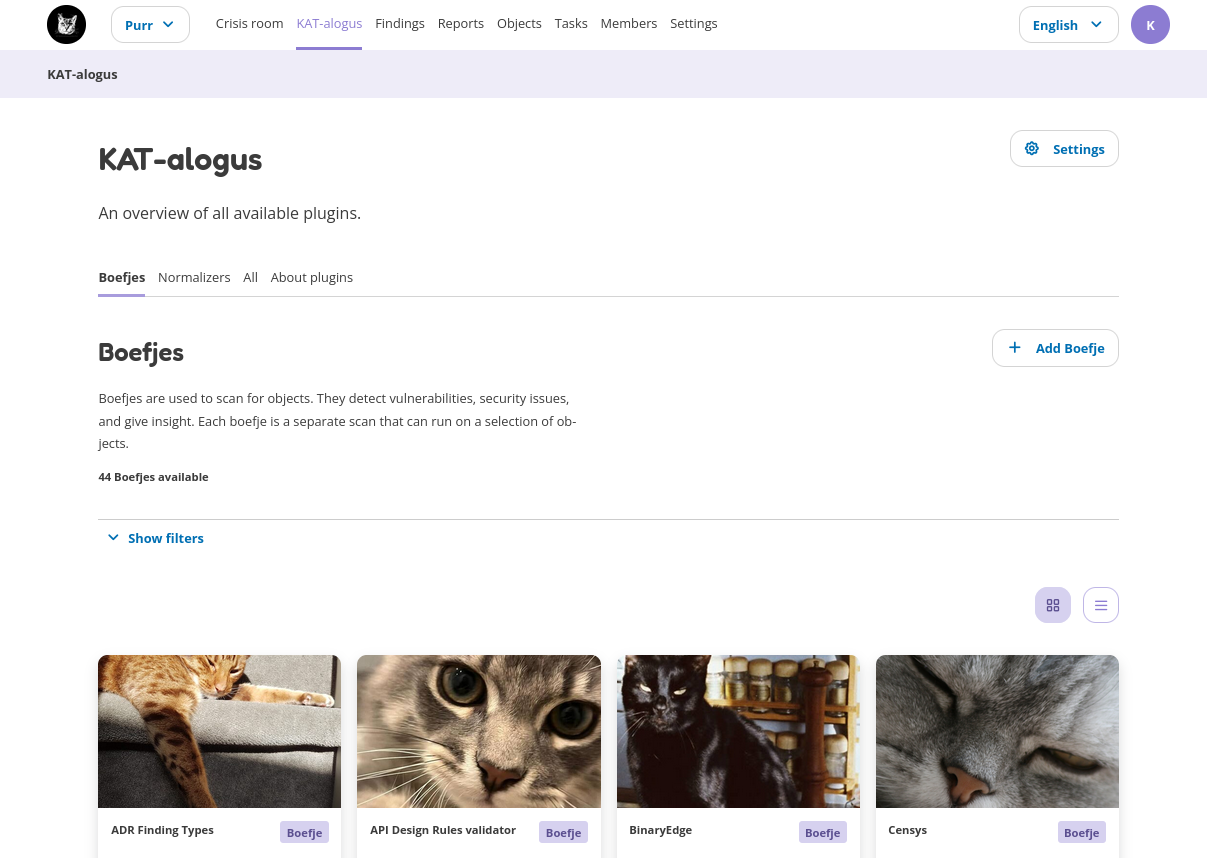
As you can see, every plugin has its own scan level. This is the minimum level objects must have to be scanned with this plugin. You can enable and disable the plugins of your choice and OpenKAT will use it to scan your objects. OpenKAT always checks that the plugins do not exceed the clearance level of the objects.
Finally
That is it! OpenKAT will now create tasks to scan your object(s). On the Tasks page, you can see which tasks have been created. It might take a while for all tasks to be completed.

When the tasks are completed, the results will be shown on the Findings page. There you can find an overview of all findings that have been collected from the scans. For each finding, you can see the details and the possible recommendations. Not every task results in a finding, but almost every task results in new objects.
The findings can be summarized into a report. If you want to create a report, please check Generate a report.